

- Web UI
- CLI
Configure Vector Store & Embedding Model
Start by configuring your preferred Vector Store (e.g., LanceDB, Pinecone) and Embedding Model (e.g., OpenAI, Cohere) in the Configuration tab.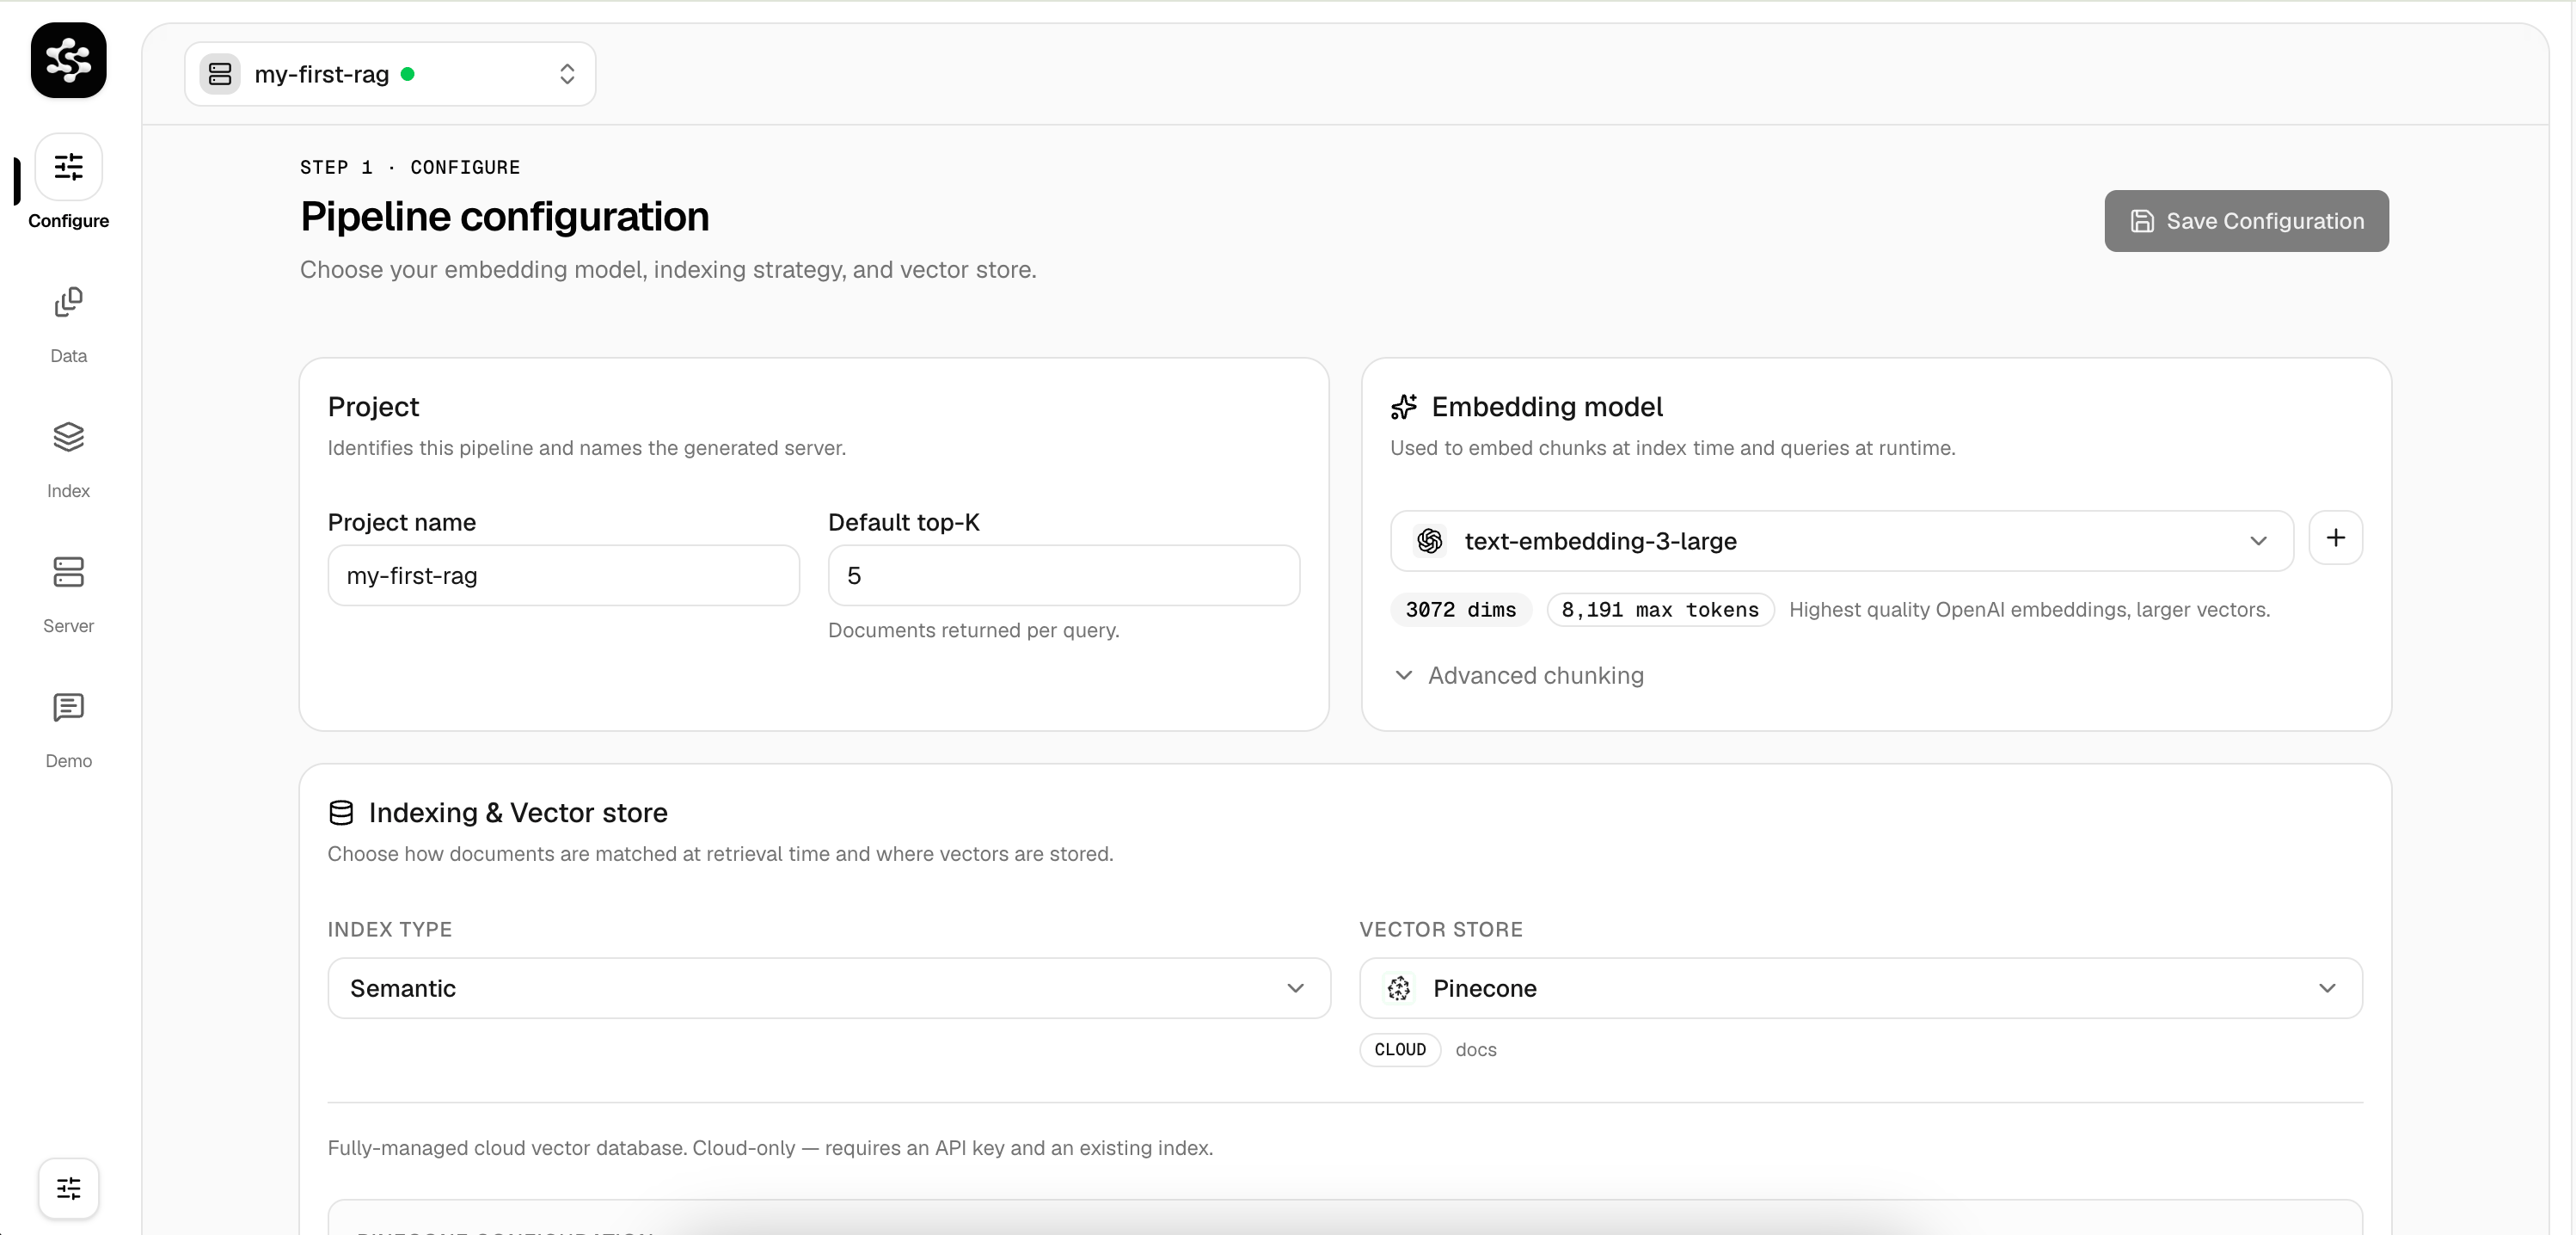
Ingest Your Documents
Navigate to the Data tab to upload files, paste raw text, or scrape websites. These sources will queue up as ingestion jobs.
Run Indexing
In the Index tab, click Run Indexing Job. This process will automatically chunk your text and generate vector embeddings to store in your chosen database.
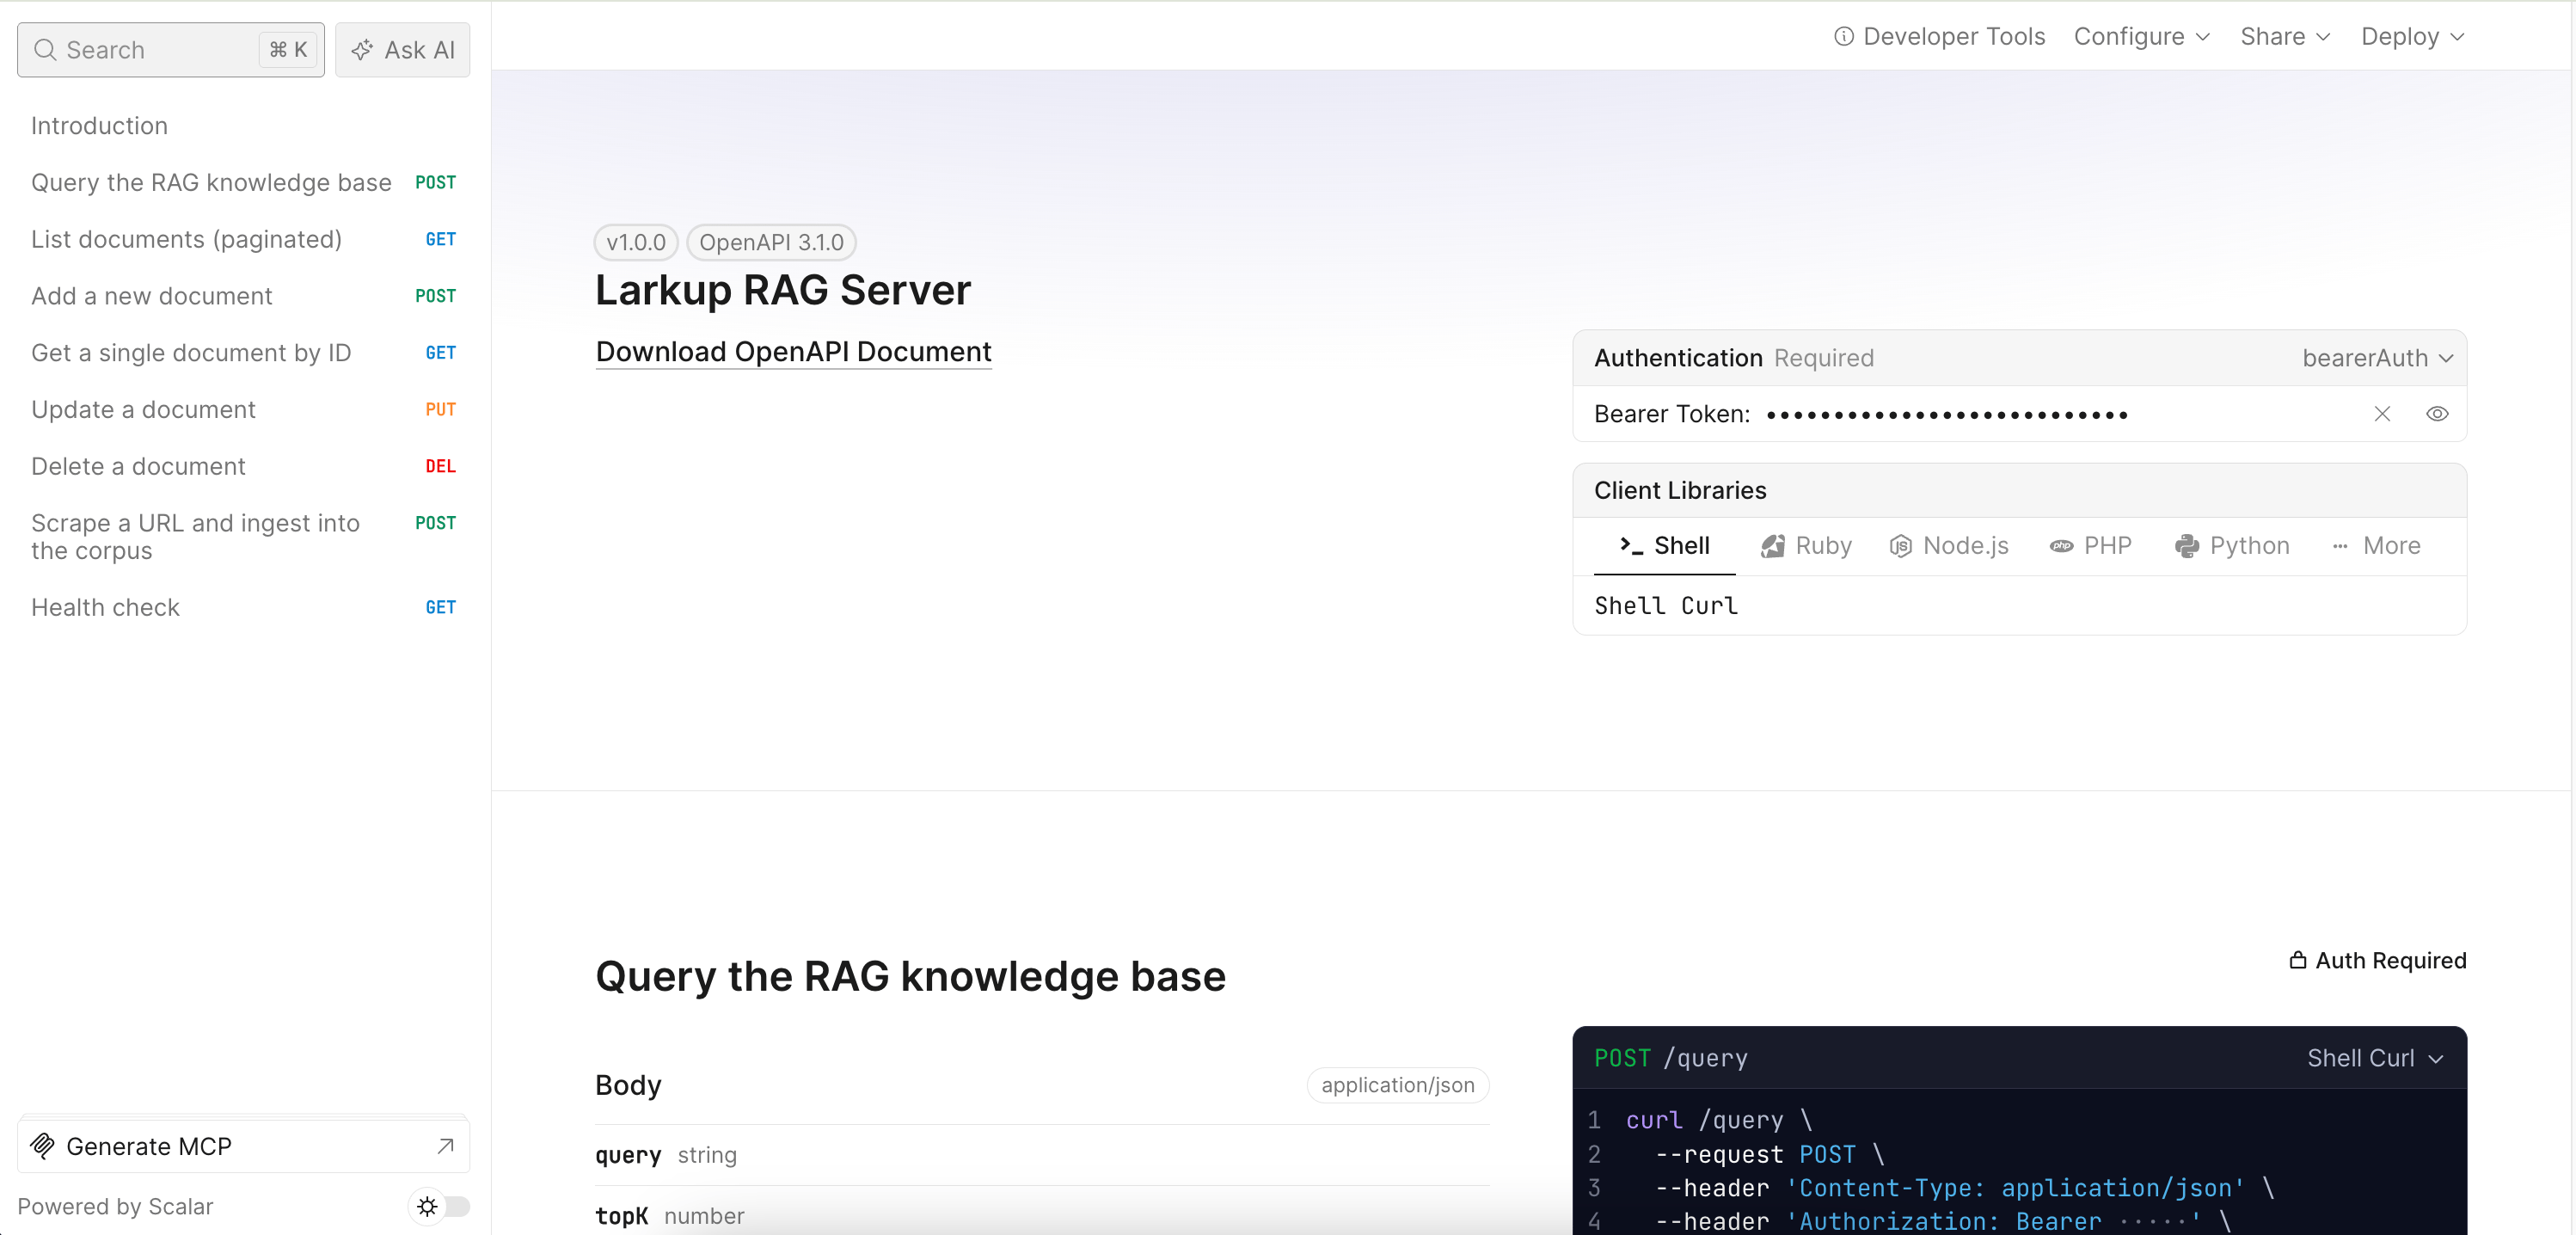
The Generated Server
When you launch your server, LarkupRAG creates an optimized backend output directory . It contains everything you need and absolutely nothing you don’t:- Zero Bloat: Only dependencies for your specific Vector Store are bundled.
- No Build Step: Runs directly as a Node ESM backend (
node server.mjs).
SDK Usage
Because Larkup RAG exposes an OpenAI-compatible API, you can easily connect to it using your favorite AI tools and SDKs.- Vercel AI SDK
- LangChain (Python)
Use the
ai and @ai-sdk/openai packages to connect to your local RAG server.Next Steps
Your server is now live athttp://localhost:8080.
- Deploy your server to Vercel, Docker, or a VPS.
- Build a frontend chatbot using your new API.