> ## Documentation Index
> Fetch the complete documentation index at: https://larkuprag.larkup.de/docs/llms.txt
> Use this file to discover all available pages before exploring further.
# Build Your First RAG Server
> Generate, launch, and deploy a complete RAG backend.
The core power of LarkupRAG is turning your raw data into a deployable, high-performance RAG API in minutes. You can build your server using either our visual Web UI or the developer-focused CLI.
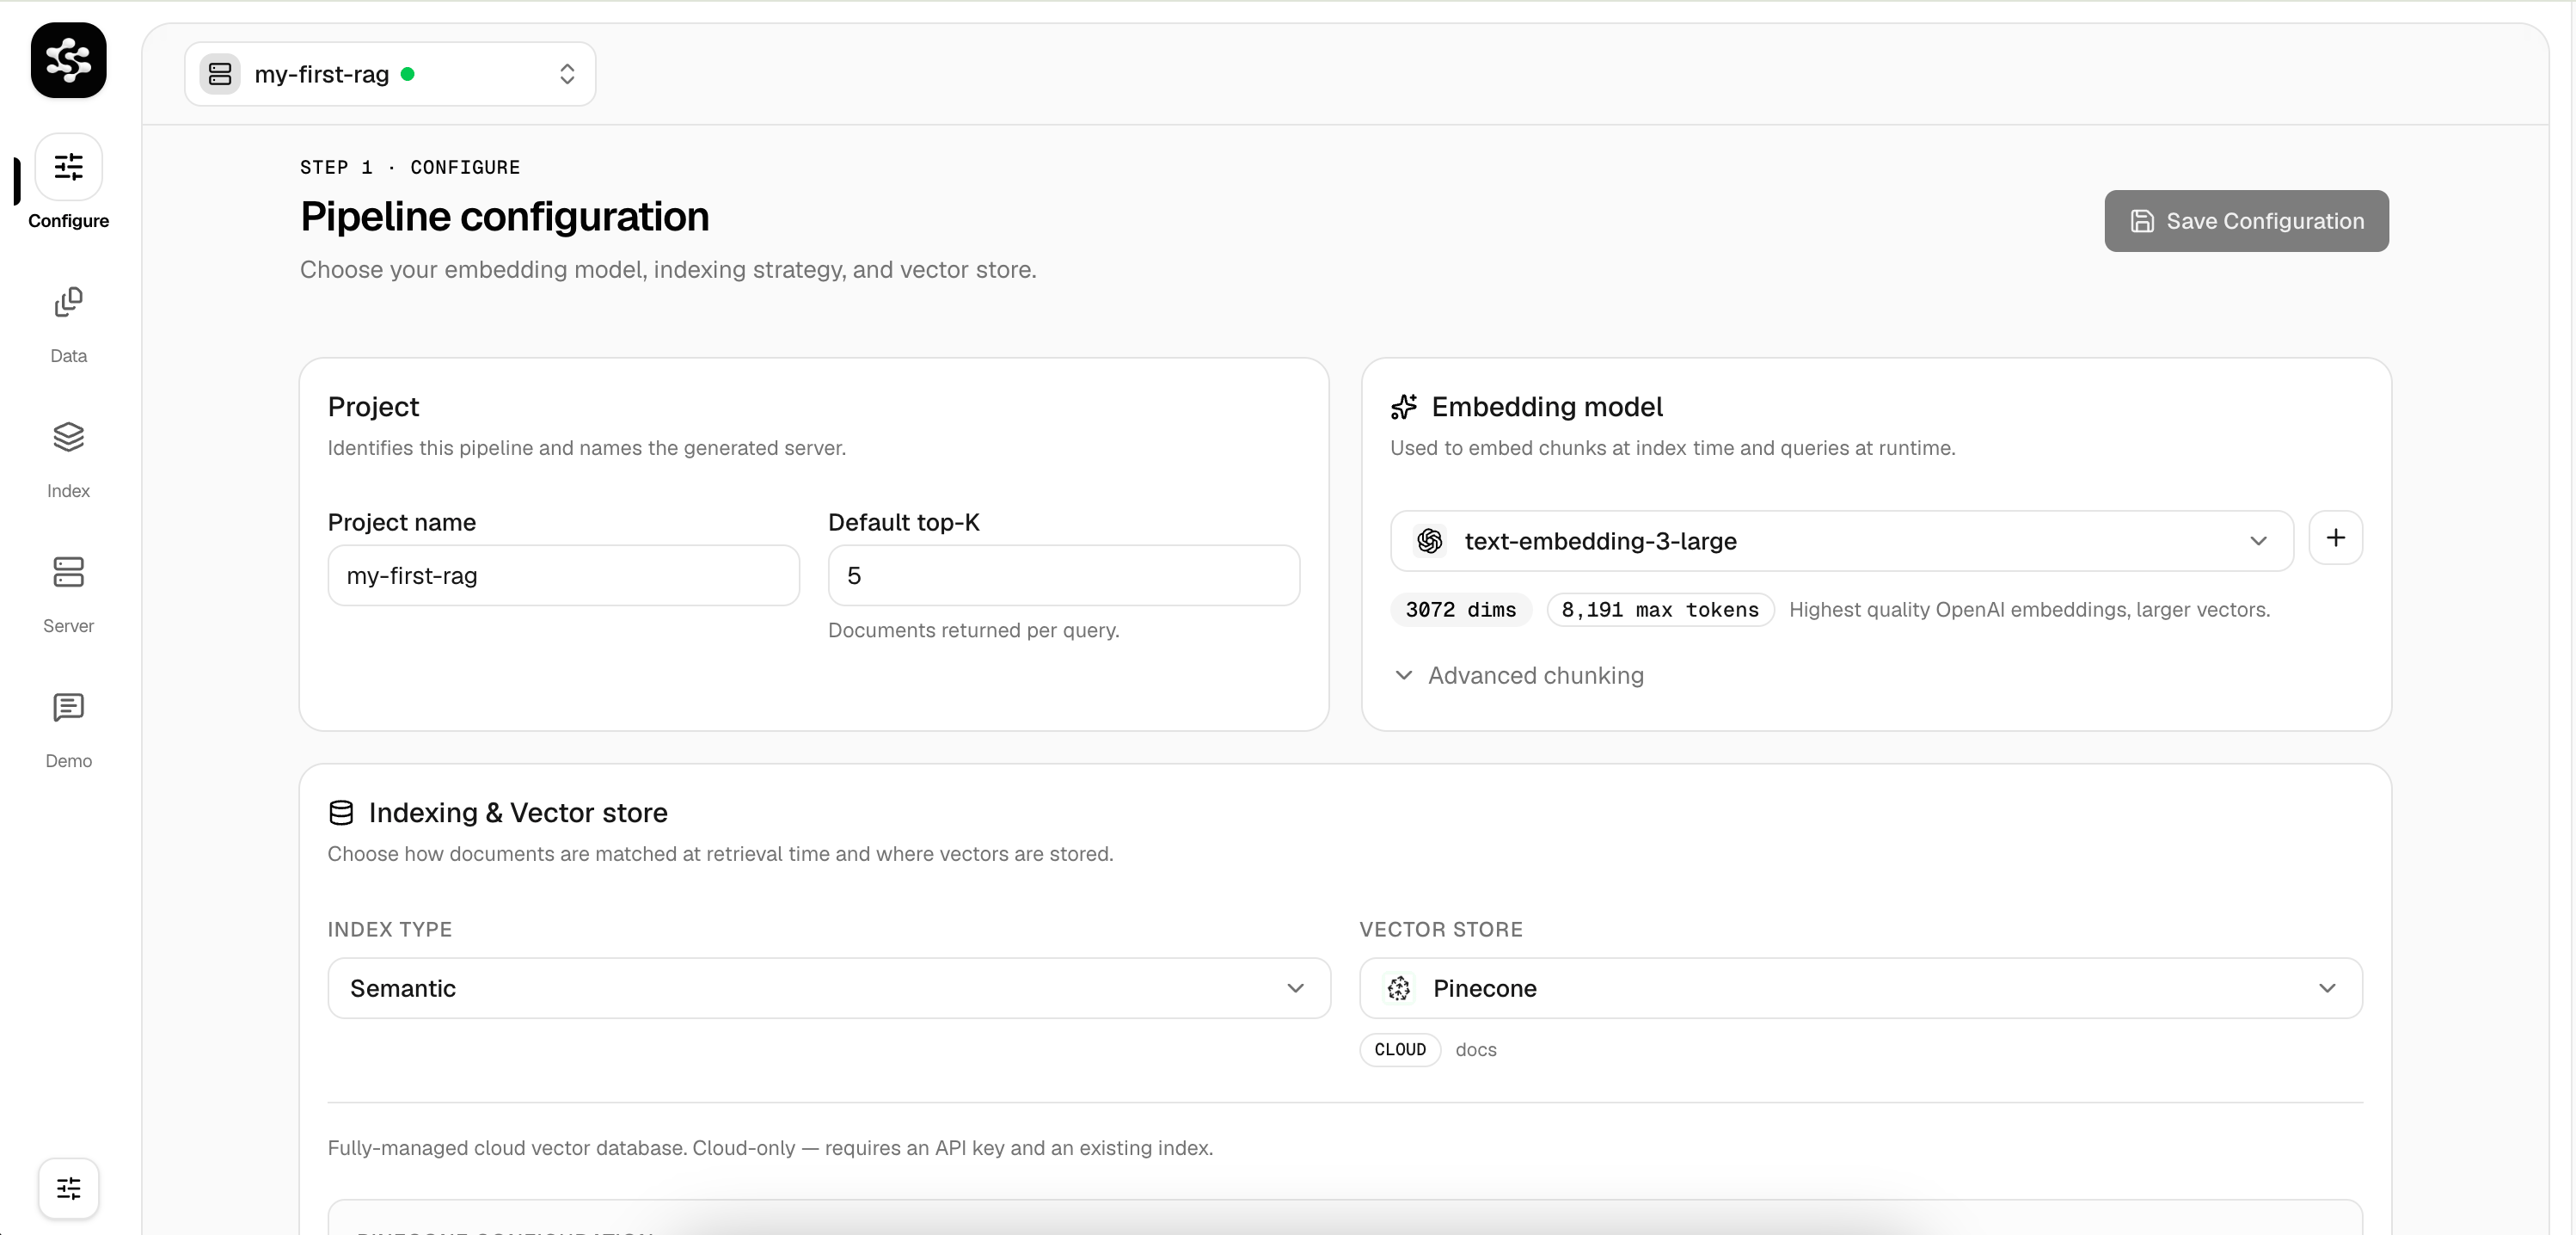
Start by configuring your preferred **Vector Store** (e.g., LanceDB, Pinecone) and **Embedding Model** (e.g., OpenAI, Cohere) in the Configuration tab.
 Navigate to the **Data** tab to upload files, paste raw text, or scrape websites. These sources will queue up as ingestion jobs.
In the **Index** tab, click **Run Indexing Job**. This process will automatically chunk your text and generate vector embeddings to store in your chosen database.
Finally, go to the **Server** tab and click **Launch Server**. LarkupRAG takes your entire configuration and generates a minimal, deployable Node.js server.
Navigate to the **Data** tab to upload files, paste raw text, or scrape websites. These sources will queue up as ingestion jobs.
In the **Index** tab, click **Run Indexing Job**. This process will automatically chunk your text and generate vector embeddings to store in your chosen database.
Finally, go to the **Server** tab and click **Launch Server**. LarkupRAG takes your entire configuration and generates a minimal, deployable Node.js server.
 Create a new workspace project:
```bash theme={null}
larkup-rag init my-rag-server
```
By default, the CLI uses a local LanceDB instance. If you want to configure external stores or OpenAI embeddings, run:
```bash theme={null}
larkup-rag config
```
Add multiple files or URLs to your workspace:
```bash theme={null}
larkup-rag add-doc --file ./docs/manual.pdf
larkup-rag add-doc --url https://example.com/docs
```
Run the indexing job to chunk and embed your data:
```bash theme={null}
larkup-rag index
```
Spin up the backend in the foreground:
```bash theme={null}
larkup-rag serve
```
## The Generated Server
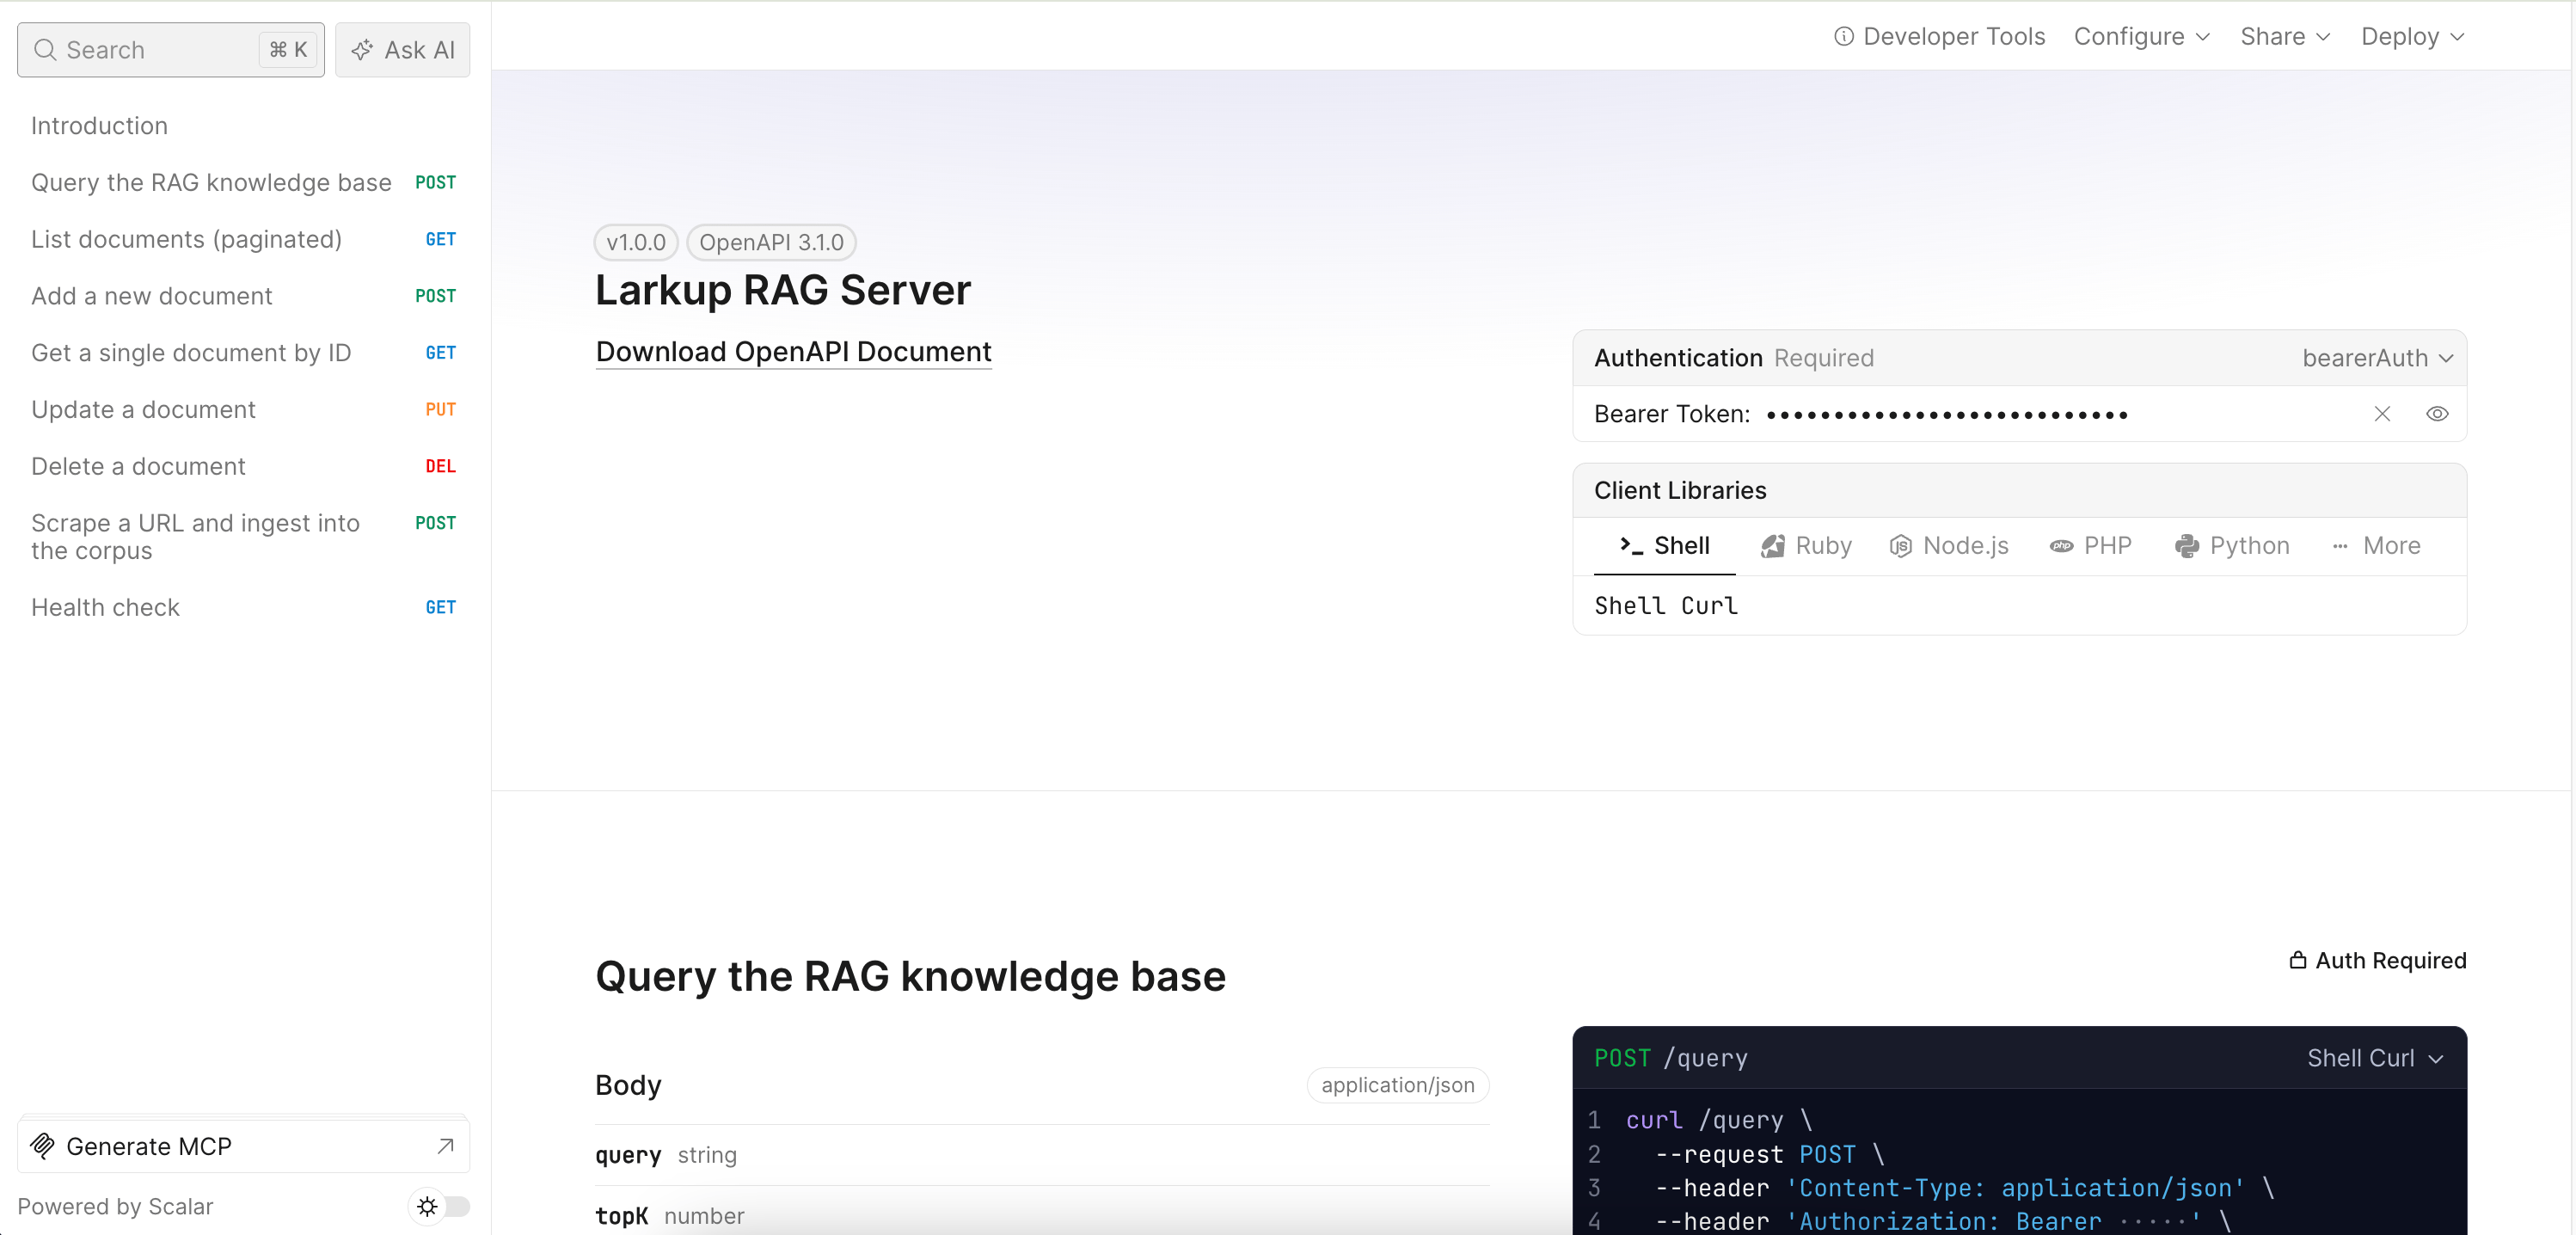
When you launch your server, LarkupRAG creates an optimized backend output directory . It contains everything you need and absolutely nothing you don't:
* **Zero Bloat**: Only dependencies for your specific Vector Store are bundled.
* **No Build Step**: Runs directly as a Node ESM backend (`node server.mjs`).
## SDK Usage
Because Larkup RAG exposes an OpenAI-compatible API, you can easily connect to it using your favorite AI tools and SDKs.
Use the `ai` and `@ai-sdk/openai` packages to connect to your local RAG server.
```typescript theme={null}
import { createOpenAI } from '@ai-sdk/openai';
import { generateText } from 'ai';
const larkup = createOpenAI({
baseURL: 'http://localhost:8080/v1',
apiKey: 'not-needed-for-local',
});
const { text } = await generateText({
model: larkup('rag-model'), // The model name doesn't matter for local RAG
prompt: 'What is LarkupRAG?',
});
console.log(text);
```
Use `langchain-openai` to connect via Python.
```python theme={null}
from langchain_openai import ChatOpenAI
llm = ChatOpenAI(
openai_api_base="http://localhost:8080/v1",
openai_api_key="not-needed-for-local",
model_name="rag-model"
)
response = llm.invoke("What is LarkupRAG?")
print(response.content)
```
## Next Steps
Your server is now live at `http://localhost:8080`.
* [**Deploy your server**](/developer/deploy) to Vercel, Docker, or a VPS.
* [**Build a frontend chatbot**](/guide/instant-chatbot) using your new API.
Create a new workspace project:
```bash theme={null}
larkup-rag init my-rag-server
```
By default, the CLI uses a local LanceDB instance. If you want to configure external stores or OpenAI embeddings, run:
```bash theme={null}
larkup-rag config
```
Add multiple files or URLs to your workspace:
```bash theme={null}
larkup-rag add-doc --file ./docs/manual.pdf
larkup-rag add-doc --url https://example.com/docs
```
Run the indexing job to chunk and embed your data:
```bash theme={null}
larkup-rag index
```
Spin up the backend in the foreground:
```bash theme={null}
larkup-rag serve
```
## The Generated Server
When you launch your server, LarkupRAG creates an optimized backend output directory . It contains everything you need and absolutely nothing you don't:
* **Zero Bloat**: Only dependencies for your specific Vector Store are bundled.
* **No Build Step**: Runs directly as a Node ESM backend (`node server.mjs`).
## SDK Usage
Because Larkup RAG exposes an OpenAI-compatible API, you can easily connect to it using your favorite AI tools and SDKs.
Use the `ai` and `@ai-sdk/openai` packages to connect to your local RAG server.
```typescript theme={null}
import { createOpenAI } from '@ai-sdk/openai';
import { generateText } from 'ai';
const larkup = createOpenAI({
baseURL: 'http://localhost:8080/v1',
apiKey: 'not-needed-for-local',
});
const { text } = await generateText({
model: larkup('rag-model'), // The model name doesn't matter for local RAG
prompt: 'What is LarkupRAG?',
});
console.log(text);
```
Use `langchain-openai` to connect via Python.
```python theme={null}
from langchain_openai import ChatOpenAI
llm = ChatOpenAI(
openai_api_base="http://localhost:8080/v1",
openai_api_key="not-needed-for-local",
model_name="rag-model"
)
response = llm.invoke("What is LarkupRAG?")
print(response.content)
```
## Next Steps
Your server is now live at `http://localhost:8080`.
* [**Deploy your server**](/developer/deploy) to Vercel, Docker, or a VPS.
* [**Build a frontend chatbot**](/guide/instant-chatbot) using your new API.